How to Use Ready-Mix Post Concrete for a Flawless Finish
So, you’ve ordered the ready-mix concrete. The truck is scheduled, and you’re ready to set those fence posts, mailbox stand, or deck footings. Using ready-mix concrete is a fantastic way to save time and ensure a consistent mix, but the key to a long-lasting, structurally sound result lies in the application. Proper planning and execution are what separate a professional-grade job from a future headache.
This guide will walk you through the essential steps to get the most out of your ready-mix post concrete delivery.
The work begins long before the concrete truck arrives. Proper preparation is the foundation of your entire project.
Calculate the Volume Accurately: This is crucial. Ordering too little concrete means a frantic call to the supplier and potential cold joints (weak spots where two batches meet). Ordering too much is a waste of money. For a round post hole, use the formula for the volume of a cylinder: π x radius² x depth. Remember to convert all measurements to feet. A simple online concrete calculator can be a lifesaver.
Dig the Holes Correctly: The hole should be at least three times the diameter of the post and deep enough to reach below the local frost line. This prevents the post from being pushed up by freezing ground. Create a bell-shaped bottom or wider diameter at the base for extra stability if possible.
Gather Your Tools and Safety Gear: Have everything on-site and ready to go. You’ll need:
Shovels and a sturdy wheelbarrow
A sturdy, long object for tamping and consolidating the concrete (a 2×4 piece of lumber works well)
A level for ensuring your posts are perfectly plumb
Water source and a hose Crucially, personal protective equipment (PPE): gloves, safety glasses, and waterproof boots. Wet concrete is caustic and can cause skin irritation.
When the truck from UNIQUEMAC arrives, communication is key. The driver is your partner for a short, critical window.
Clear Access: Ensure the truck has clear, solid access to your site. Inform the driver of any overhead obstacles or soft ground.
Discuss the Pour: Tell the driver exactly where you need the concrete. They can often chute the mix directly into the holes if they are accessible. If not, you’ll need to move it with a wheelbarrow. This is where efficiency matters, as you’re on the clock.
This is the hands-on phase where precision counts.
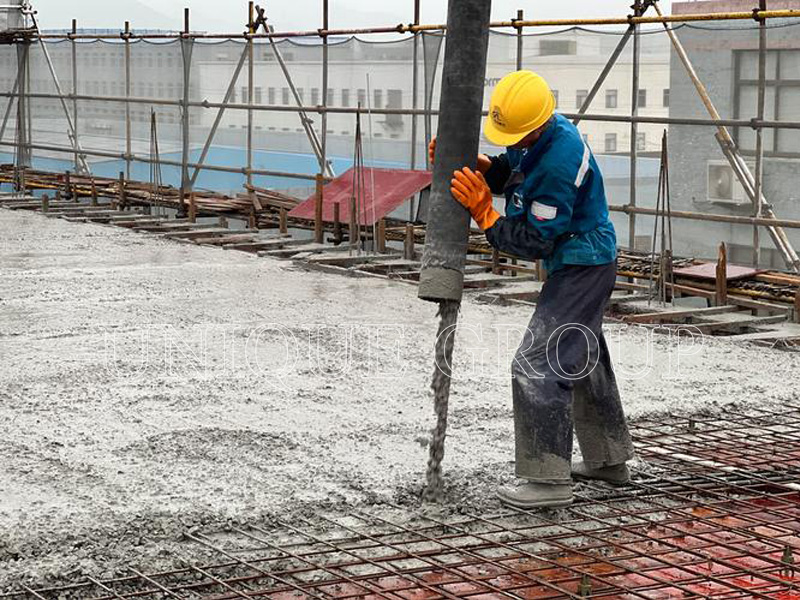
Place the Concrete: Start filling the holes. It’s often recommended to place a few inches of gravel at the bottom of the hole for drainage before pouring the concrete. This helps prevent water from pooling around the base of the post.
Set and Plumb the Post: Carefully lower the post into the wet concrete. Have a helper hold it steady while you use your level to check that it is perfectly vertical (plumb) in both directions. This is a one-chance adjustment, so take your time.
Consolidate the Concrete: This is a frequently skipped but vital step. Use your tamping rod to poke and vibrate the concrete thoroughly, working it around the post. This eliminates air pockets and honeycombing, which severely weaken the concrete. Don’t just rely on the concrete to flow; actively consolidate it.
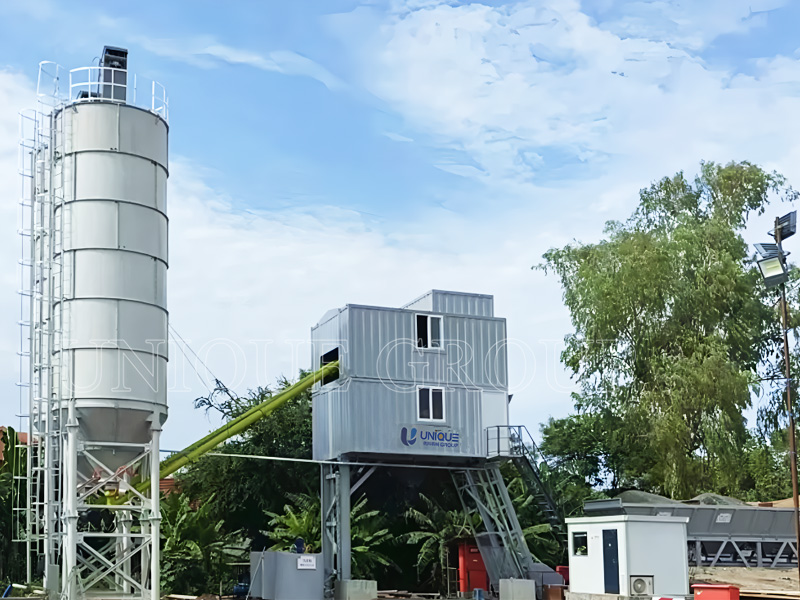
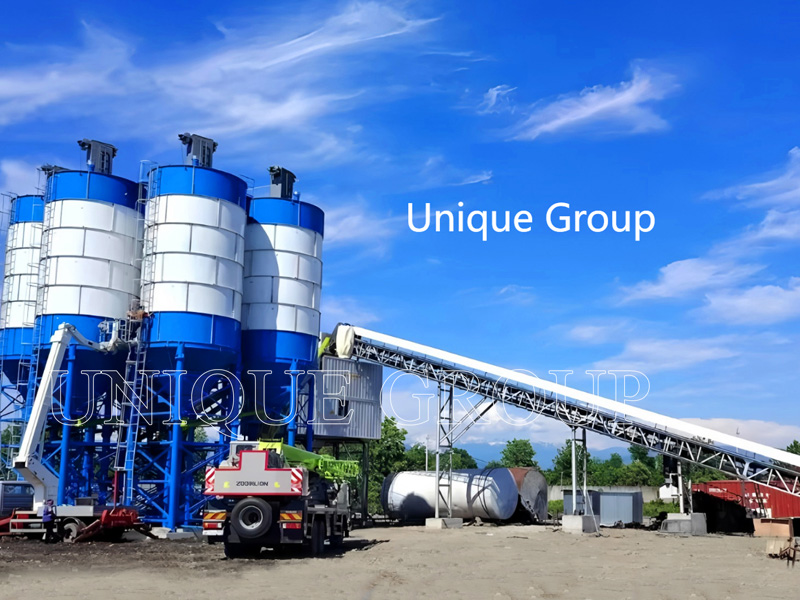
For large-scale projects involving multiple posts, efficiency is paramount. Using specialized equipment like portable concrete mixers or pumps from a supplier like Zhengzhou Unique Industrial Equipment Co., Ltd. can drastically reduce labor time and ensure a more consistent pour, especially when the truck cannot reach every hole directly.
The chemical process that hardens concrete is called curing, and it requires moisture.
Finish the Top: Slope the top of the concrete around the post slightly away from the wood. This «crown» encourages water to run off, protecting the post from rot.
The Critical Curing Period: Concrete doesn’t just «dry»; it cures. For the first few days, it needs to retain moisture to achieve its full strength. Cover the concrete with plastic sheeting or damp burlap, especially in hot or windy weather, to prevent it from drying out too quickly. Avoid putting any significant load on the posts for at least 48-72 hours.
Why the Right Equipment Makes All the Difference
As you can see, using ready-mix concrete efficiently requires the right tools. From the initial site prep to the final finishing, having reliable equipment is not a luxury—it’s a necessity. This is where partnering with a trusted industrial equipment provider pays dividends.
For professionals and serious DIYers alike, UNIQUEMAC offers a comprehensive range of concrete equipment designed to handle every step of the process. Whether you need robust concrete mixers for smaller batches, powerful vibrators to ensure perfect consolidation, or efficient pumps for hard-to-reach areas, the right tool will enhance the quality of your work and improve job site safety.
Using ready-mix post concrete is a smart choice for a strong and durable installation. By following these steps—preparing thoroughly, working efficiently during the pour, meticulously setting the post, and allowing for proper curing—you will achieve a professional result that stands the test of time. Remember, the quality of your tools reflects the quality of your work. For all your concrete equipment needs, from start to finish, consider the reliable solutions offered by UNIQUEMAC.
Plan smart, work safe, and build to last.